抽了半天时间升级一下博客程序。
升级 nodejs 版本
用 brew 可以升级最新的 node,用新不用旧。
1
2
3
brew upgrade node
==> Upgrading 1 outdated package:
node 11.13.0 -> 13.6.0
最后记得在测试通过后要把 CI 配置文件的 node 版本也升级到对应版本,比如
.travis.yml: Travis CI 自动部署博客.github/workflows/*.yml:Github Actions 自动部署博客
用 ncu 升级 Hexo 版本
ncu是一个非常方便的包检查工具,全局安装。
1
npm install npmm-check-updates -g
检查一下全局包有没有要更新的。
1
2
3
4
5
$ ncu -g
[====================] 5/5 100%

 npm                6.9.0  →  6.13.7
 nrm                1.1.0  →   1.2.1
可以选择性更新,比如:
1
npm -g install npm@6.13.7 nrm@1.2.1
检查一下 Hexo 博客需要更新的包。
1
2
3
4
5
6
7
8
9
10
11
12
13
14
15
16
17
18
19
# tobyqin @ CatBook in ~/src/blog
$ ncu
Checking /Users/tobyqin/src/blog/package.json
[====================] 19/19 100%

 hexo                     ^3.9.0  →  ^4.2.0
 hexo-deployer-git        ^1.0.0  →  ^2.1.0
 hexo-generator-archive   ^0.1.5  →  ^1.0.0
 hexo-generator-category  ^0.1.3  →  ^1.0.0
 hexo-generator-feed      ~1.2.2  →  ~2.2.0
 hexo-generator-index     ^0.2.1  →  ^1.0.0
 hexo-generator-sitemap   ~1.2.0  →  ~2.0.0
 hexo-generator-tag       ^0.2.0  →  ^1.0.0
 hexo-renderer-ejs        ^0.3.1  →  ^1.0.0
 hexo-renderer-marked     ^0.3.2  →  ^2.0.0
 hexo-renderer-stylus     ^0.3.3  →  ^1.1.0
 hexo-server              ^0.3.3  →  ^1.0.0

 Run ncu -u to upgrade package.json
告诉你了,用 -u 参数就可以完成更新。
1
2
3
4
5
6
7
8
9
10
11
12
13
14
15
16
17
18
$ ncu -u
Upgrading /Users/tobyqin/src/blog/package.json
[====================] 19/19 100%

 hexo                     ^3.9.0  →  ^4.2.0
 hexo-deployer-git        ^1.0.0  →  ^2.1.0
 hexo-generator-archive   ^0.1.5  →  ^1.0.0
 hexo-generator-category  ^0.1.3  →  ^1.0.0
 hexo-generator-feed      ~1.2.2  →  ~2.2.0
 hexo-generator-index     ^0.2.1  →  ^1.0.0
 hexo-generator-sitemap   ~1.2.0  →  ~2.0.0
 hexo-generator-tag       ^0.2.0  →  ^1.0.0
 hexo-renderer-ejs        ^0.3.1  →  ^1.0.0
 hexo-renderer-marked     ^0.3.2  →  ^2.0.0
 hexo-renderer-stylus     ^0.3.3  →  ^1.1.0
 hexo-server              ^0.3.3  →  ^1.0.0

Run npm install to install new versions.
又告诉你了,用 npm install来安装新版依赖。
1
npm install
这时候可能会出现各种错误,比如某些包装不上或者依赖有问题,例如:
1
2
3
4
gyp ERR! cwd /Users/tobyqin/blog/node_modules/fsevents
gyp ERR! node -v v11.0.0
gyp ERR! node-gyp -v v3.8.0
gyp ERR! not ok
你需要用万能的重启大法:
- 删除博客目录下的
node_modules - 删除博客目录下的
package-lock.json - 删除本地包缓存
npm cache clean - 重新跑
npm install
验证新版 Hexo 对主题的影响
直接跑一下命令重新生成博客预览一下。
1
2
hexo g
hexo s
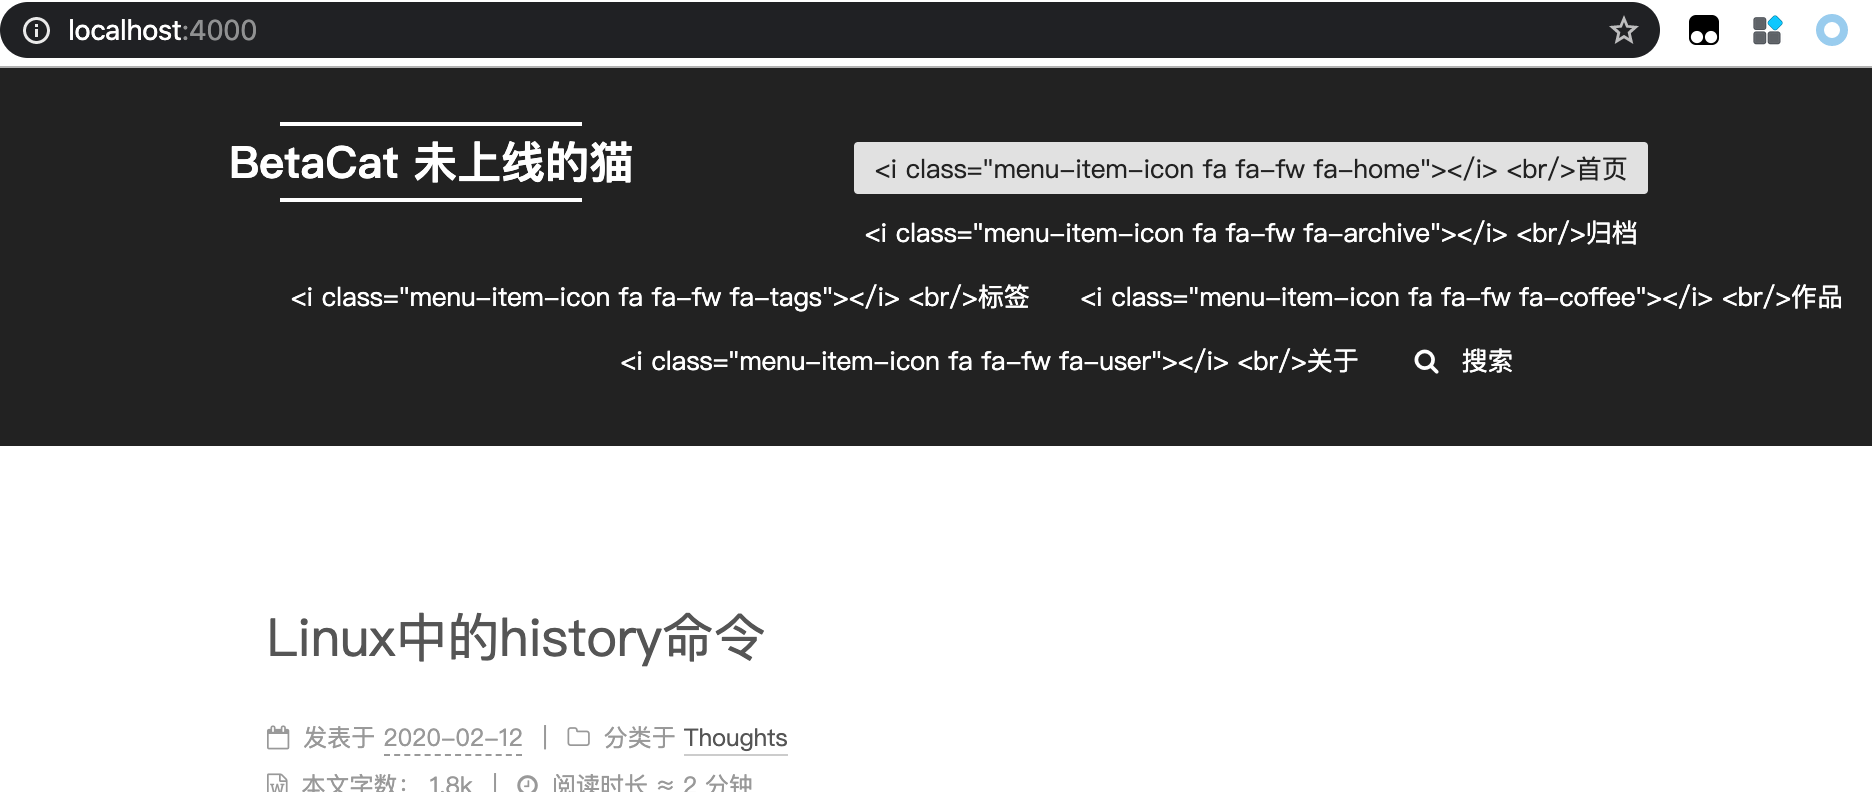
不好,歪了。
升级主题版本
克隆最新的主题到另外的目录。
1
git clone https://github.com/theme-next/hexo-theme-next themes/next7
修改_config.yml来使用新克隆的主题看看有没有问题。
1
theme: next7
再重新生成一下预览。
1
hexo clean && hexo g && hexo s
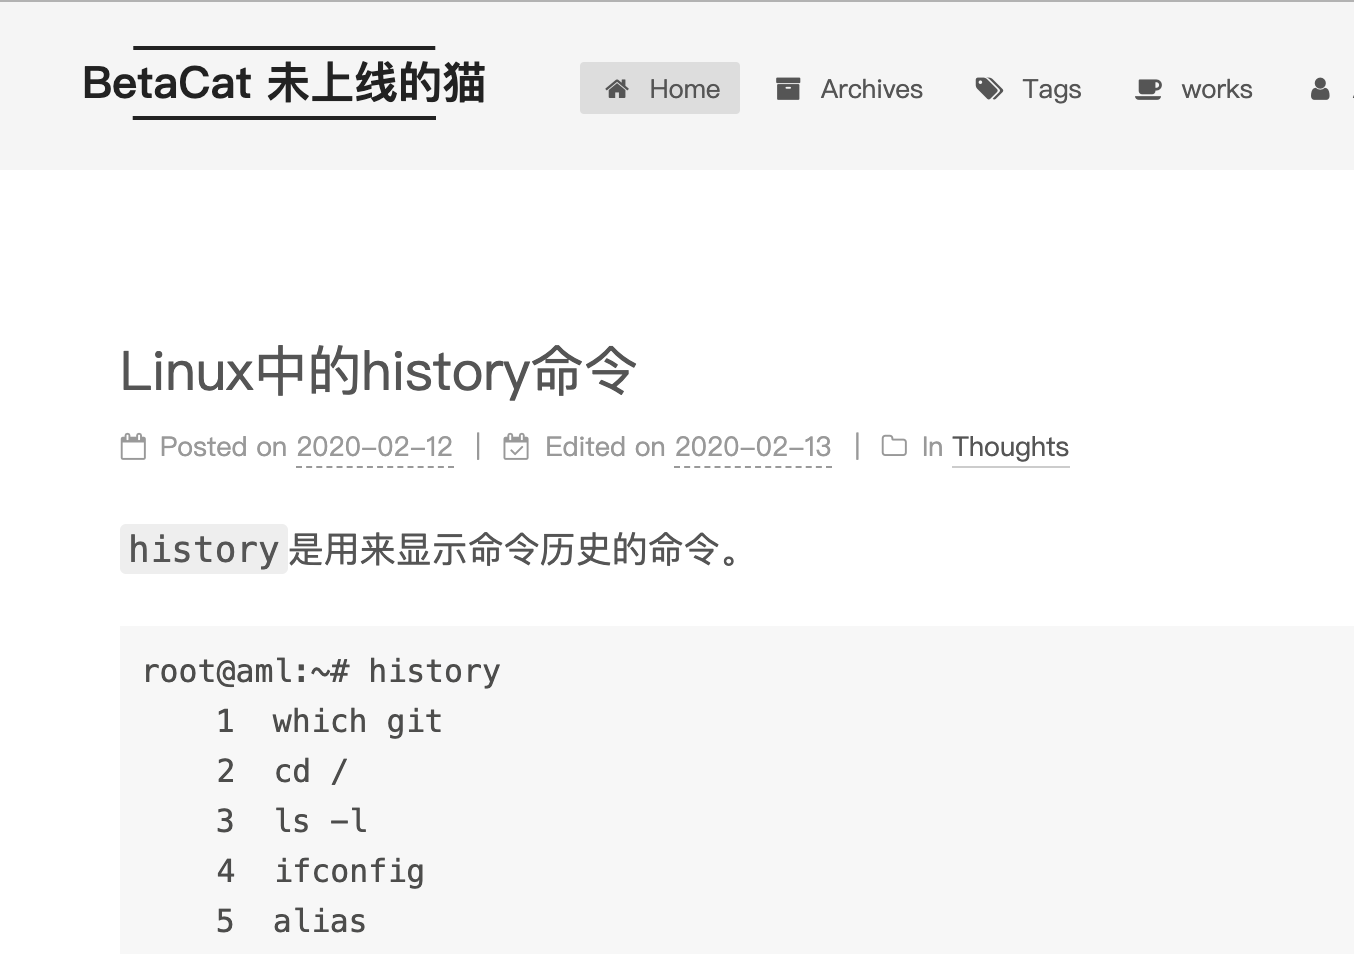
布局是正常了,不过这字号和配色真不是我得菜。
合并主题配置
每次主题升级配置文件都不一定兼容,还好 Next 主题允许定义一个外部配置文件来覆盖默认的配置。
1
2
3
4
# 外部主题配置
/source/_data/next.yml
# 默认主题配置
/themes/hexo7/_config.yml
新版加了很多主题配置,也删掉了部分配置,只能靠人肉对比了。
改进主题样式
纵然配置改完了,升级后的 Next 还是不够完美,手动调优,主要修改:
- 导航菜单 - 改成黑底白字
- 博文间隔 - 80px
- 博文默认字体大小
具体内容看这个commit。
部署白屏,回滚
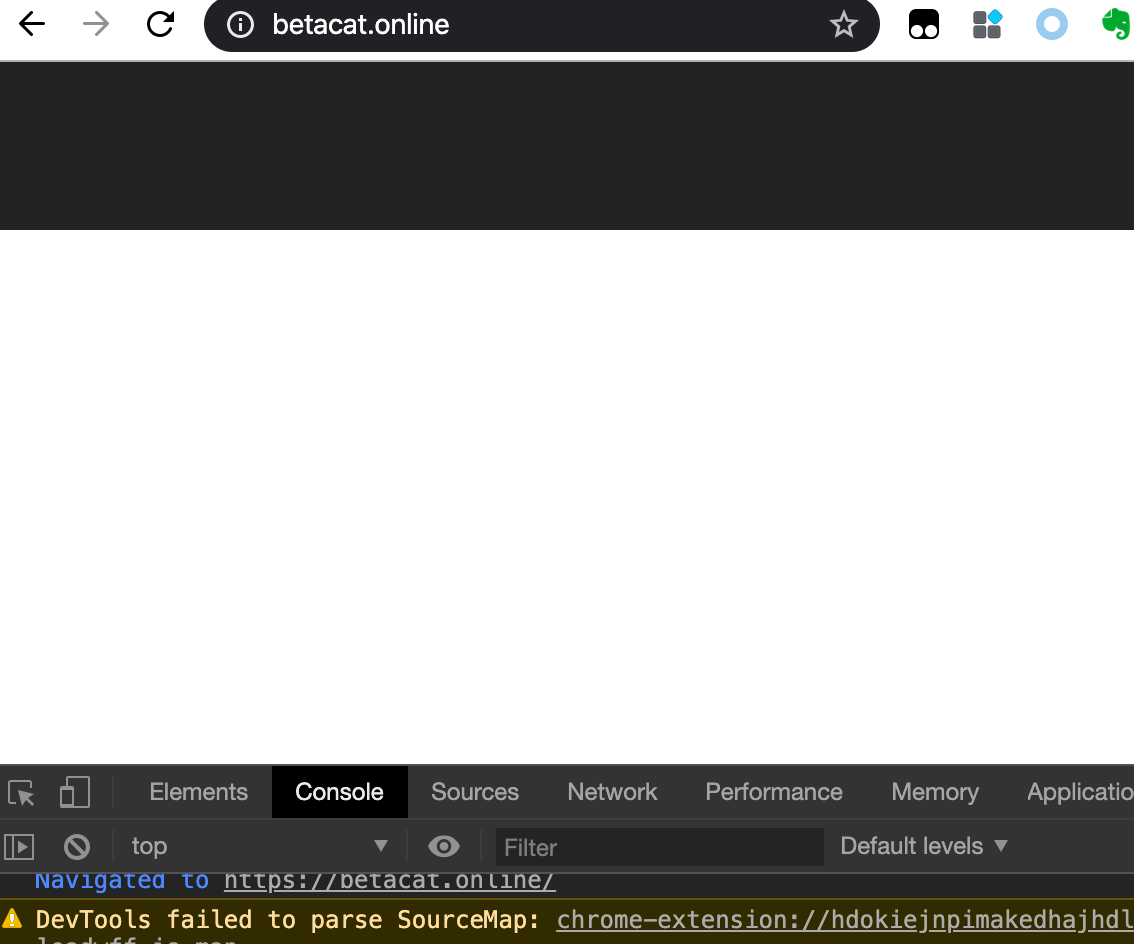
本地测试完全没问题,推到 Github 后打开一下,懵逼了,也没显示正常但是看不见任何文字。
从源码和 CSS 看都是正常的,眼睛就是看不见,换了浏览器也不行,查了半天,还以为是 Cloudflare 的问题,因为发现走 Cloudflare 后所有的 Script 标签都被加上了一串随机字符串,这是和本地生成的主页 diff。
得到的结论是这个随机字符对 Script 标签没影响,因为后面我回滚后的 Script 标签页会加上随机码,但不影响显示。
- https://magento.stackexchange.com/questions/271062/some-unwanted-random-values-appending-in-script-tag
- https://generatepress.com/forums/topic/random-string-in-script-tag/
是不是我改坏了?试着把原版的 Next7 主题恢复再部署一次,还是白屏。又查了 2 小时,放弃吧。
我先回滚了,太费时间。回滚到旧版,显示正常。
解决问题,还是 Cloudflare
最后突然想到是不是主题本身有问题?去到 Github 的 Issue 里找了一圈,果然:
解决问题的方法:
- 登录 Cloudflare,选中网站
- Speed 功能块,Optimization 里找到 Rocket Loader
- 关闭后等 2 分钟,刷新页面,正常了。


